
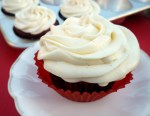
Peanut butter cupcakes + peanut butter frosting = one happy hubby! But I made these cupcakes for his brother’s birthday … and he was happy.
I made a few small adjustments to this recipe, but do not remember where it came from … so I can’t give credit to the creator … sorry.
Line your cupcake pans with 20 paper or foil liners …

In a medium-size bowl, whisk flour, baking powder and salt … set aside …

This is my favorite measuring cup for peanut butter … it’s from Pampered Chef, but there are others available. I like the fact that it is clear and easy to tell if you have air pockets. Then you just push the peanut butter out and don’t have to keep scooping and scraping …

In large mixing bowl and paddle attachment, beat together peanut butter and butter until smooth …

Add sugar gradually and beat until totally combined …

Continue beating for about 3 minutes or until mixture is a light tan color …
Add eggs, one at a time, beating well after each addition, about 2 minutes total …

Add the flour mixture, alternating with the milk, beginning and ending with the flour mixture …

Stir in the vanilla …

Scoop the batter into the lined cupcake pans … about 1/4 to 1/3 cup each … and bake …

For the frosting … in a medium size bowl, beat peanut butter and butter until smooth …

Mix in half of the confectioners’ sugar …

Alternate with milk …

Beat until smooth and no lumps remain …

Frost your cooled cupcakes …

Then roll the edges in chopped peanuts …

Tomorrow I will show you how I “wrote” Happy Birthday on these cupcakes.
Peanut Butter Cupcakes with Peanut Butter Frosting
Cupcakes:
1-3/4 cups unbleached flour (or all-purpose)
2 teaspoons baking powder
1/2 teaspoon salt
3/4 cup creamy peanut butter
1/2 cup unsalted butter, softened (salted is OK)
1-1/4 cups sugar
2 eggs
3/4 cup milk
1 teaspoon vanilla extract
Frosting:
1/2 cup creamy peanut butter
1/4 cup (1/2 stick) unsalted butter, softened (salted is OK)
2-1/2 cups confectioners’ sugar
1/3 cup milk
1/2 cup chopped lightly salted peanuts, for garnish
1. Heat oven to 350°. Line cupcake pans with 20 foil or paper liners.
2. Cupcakes: In medium bowl, whisk flour, baking powder and salt. Set aside.
3. In a large mixer bowl with paddle attachment, beat together peanut butter and butter until smooth. Add sugar gradually: beat until thoroughly combined, and mixture is a light tan color, about 3 minutes. Add eggs, one at a time, beating well after each addition, about 2 minutes total.
4. Add the flour mixture, alternating with the milk, beginning and ending with the flour mixture. Stir in vanilla extract. Divide batter evenly among prepared cups, about 1/4 – 1/3 cup for each.
5. Bake at 350° for 25-27 minutes, or until lightly browned on tops. Remove from pan and cool completely on a wire rack.
6. Frosting: In a medium bowl, beat peanut butter and butter until smooth. Add half of the confectioners’ sugar, alternating with milk. Beat until smooth and no lumps remain. Spread over cupcakes. Garnish with chopped peanuts.
Makes 20 cupcakes.
I ♥ comments! 
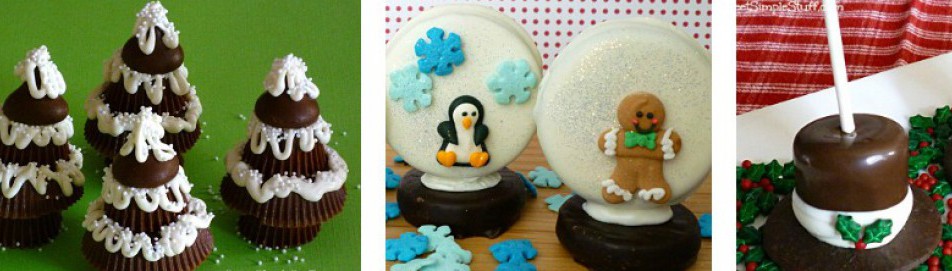


 The Bride of Frankenstein Pops
 Black bottom cupcakes with spider webs
 Peanut butter & chocolate acorns


