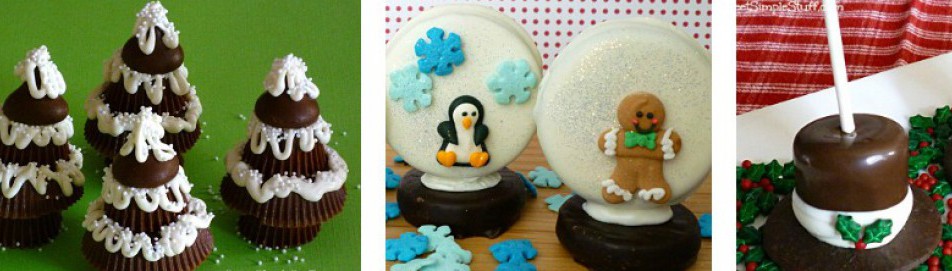
Two years ago, December 3, 2012, I made and posted a Christmas tree using Reese’s Peanut Butter Cups and a Hershey’s Kiss. I didn’t realize at that time how popular my invention would become! I’ve seen them recreated (some with variations) on other blogs, websites and even a magazine cover. Today’s post is long overdue … if one tree is good … more must be better! Earlier this week, I was making gifts for friends that involved these trees and it just made sense to use different sizes. The gift was an edible winter scene used Reese’s Peanut Butter Cup Christmas Trees, the original, plus two new sizes!
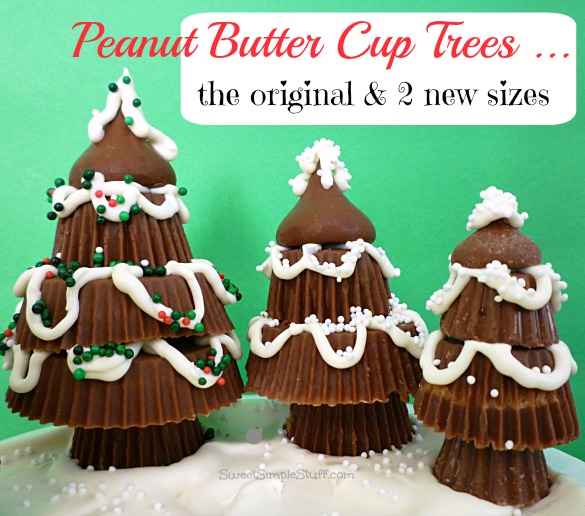
The new trees were a hit and I hope you enjoy them, too!
Peanut butter cups come in so many different sizes, it gets a little confusing. These are the terms/names that I used in the tree building instructions …
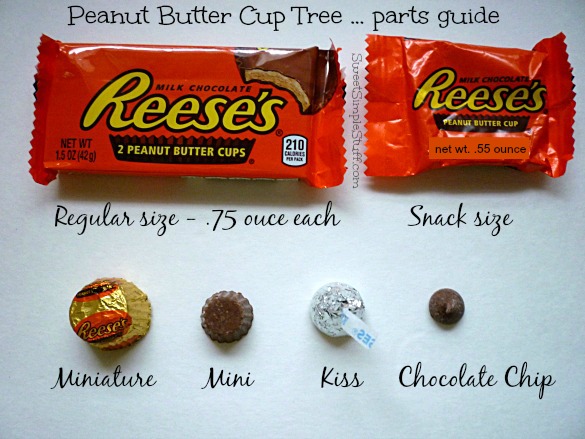
Please notice that I used a larger milk chocolate chip (such as Guittard) because of proportion sizes.
This is a list parts needed for building each size, starting at the base/trunk of the tree …
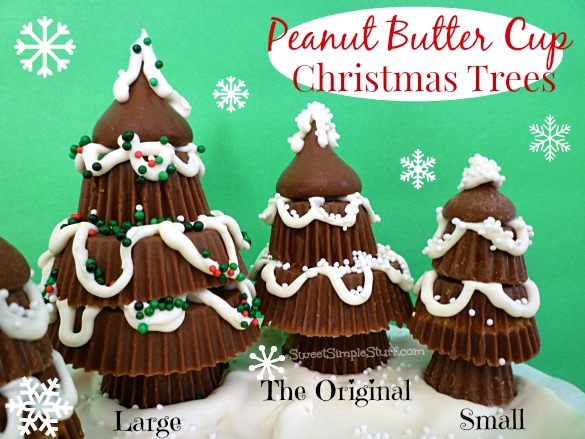
- Large Tree – Miniature, Regular, Snack, Miniature, Kiss
- Original Tree – Miniature, Snack, Miniature, Kiss
- Small Tree – Mini, Miniature, Mini, Chocolate Chip
You may want to refer to my original instructions for building a Peanut Butter Cup Christmas Tree or use this quickie version …
Hints: Build each tree in a shallow dish … it helps to contain the non-pariels! Put the cups in the fridge for 10-15 … it makes peeling the papers easier, but let the candy come back to room temperature before building the trees.
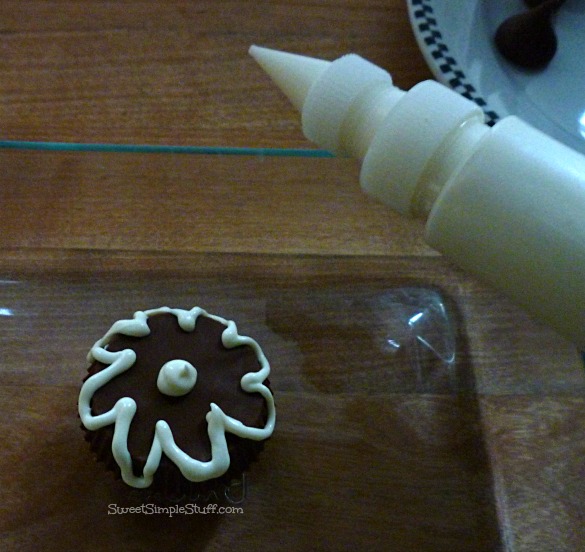 Attach “trunk” to first “tree” layer, add snow. As you can see, my snow is not perfect … too many trees to build … not enough time! Please feel free to make yours perfect … mine never will be perfect 😉
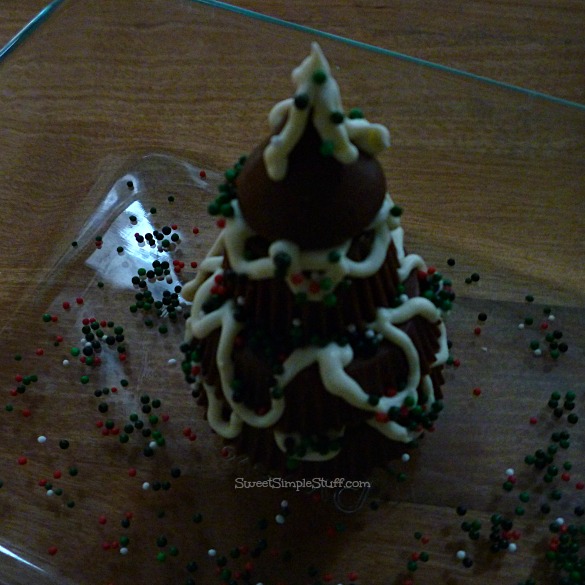 Continue with each layer … add sprinkles! Let candy firm up!
I used melted white/vanilla candy coating (candy melts) as the “edible glue” and snow for each tree. Royal Icing would work also, allow extra drying time.
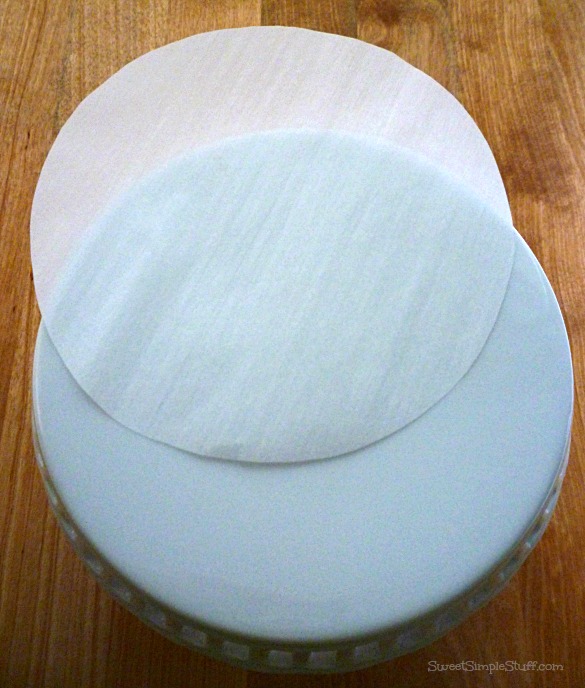
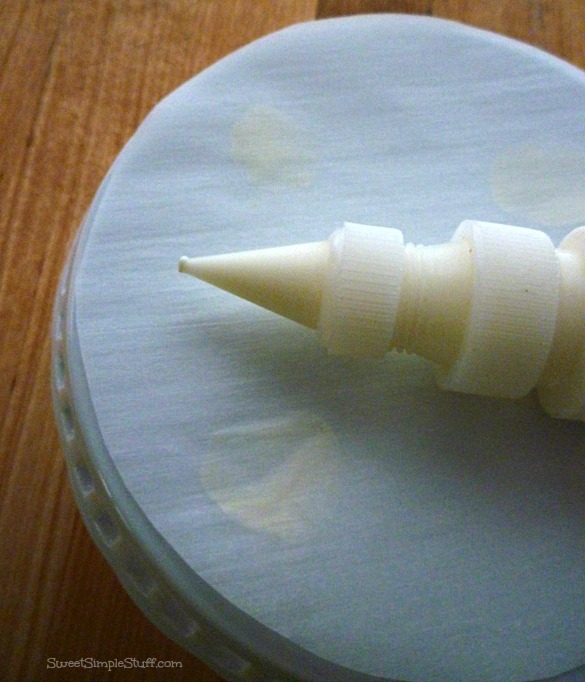
After making all the trees, I started creating a winter scene on a small cake plate. To make serving easier, I lined the plate with parchment paper. First, I cut a piece of parchment paper a little smaller than my plate … used four dots of melted candy to hold the parchment in place … smeared some melted candy as snow … sprinkled some non-pariels …

before the “snow” hardened, I added some trees …
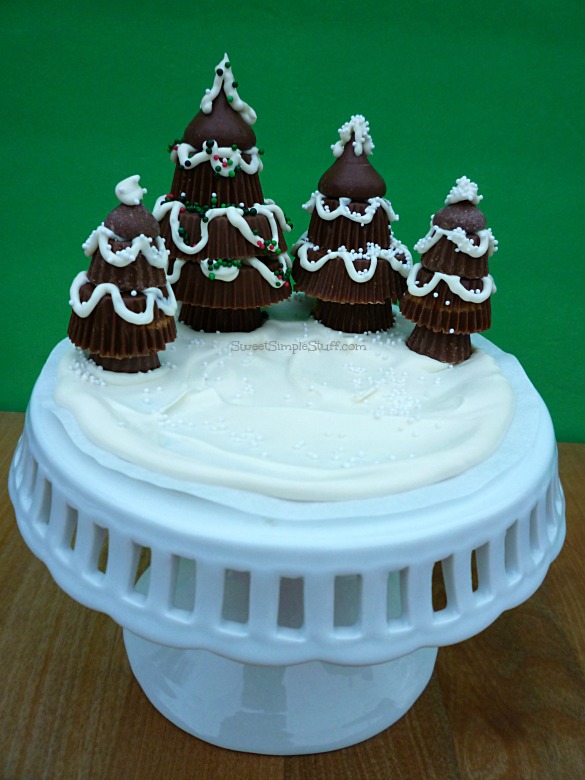
Looks a little empty … doesn’t it? To see the finished product … please come back by and visit me tomorrow. I will show you my new super easy idea that I used to finish off my edible winter scene 😉


Love these, Brenda, and certainly appreciate the detailed instructions. Merry Christmas to you and your family.
LikeLike
Thank you Kathleen 🙂 Merry Christmas to you and yours!
LikeLike
I love your trees! Merry Christmas!
LikeLike